

Mastering Amazon Product Photo Requirements: Your 2025 Guide to Stunning Visuals
Selling stuff on Amazon these days is tough. You’ve got tons of people selling similar things, and if your pictures aren’t good, people will just scroll right past. It’s not just about making things look pretty, though. Amazon has a whole list of rules for product photos, and you gotta follow them. This guide is all about those amazon product photo requirements, helping you get your pictures looking sharp and up to snuff for 2025. We’ll cover the tech stuff, the creative side, and what to avoid so your products get noticed.
Key Takeaways
- Make sure your main product image has a pure white background and shows the product clearly, taking up at least 85% of the space.
- Your images need to be at least 1,000 pixels on the longest side, with 1,600 pixels being ideal for zoom functionality.
- Stick to JPG, TIFF, PNG, or GIF file formats, and always use the RGB color model; CMYK is a no-go.
- Avoid adding text, logos, watermarks, or any distracting elements to your main product image.
- Use a mix of different image types, including lifestyle shots and multiple angles, to give customers a full picture of your product.
Decoding Amazon’s Image Size Specifications
Alright, let’s talk pixels. Getting your product photos to look sharp on Amazon isn’t just about making them pretty; it’s about following some pretty specific rules. Think of it like baking a cake – you need the right ingredients and measurements, or it just won’t turn out right. Amazon’s image requirements are no different. Mess these up, and your listing might get flagged, or worse, your product might just get lost in the digital shuffle.
The Non-Negotiable Dimensions for Your Product Pixels
First things first: size matters. Amazon wants your customers to be able to zoom in and really inspect your product, just like they would in a brick-and-mortar store. To make that zoom feature work its magic, your images need a minimum resolution. While 1000 x 1000 pixels is the absolute floor, Amazon really prefers you aim higher. Going for at least 1600 pixels on the longest side is the sweet spot for optimal zoom quality. This ensures that when a shopper clicks to get a closer look, they’re not met with a blurry mess. The maximum size you can go up to is 10,000 pixels on the longest side, so you’ve got some wiggle room there.
Here’s a quick rundown:
- Minimum Size: 1000 pixels (longest side)
- Recommended Size: 1600 pixels (longest side)
- Maximum Size: 10,000 pixels (longest side)
Zoom-Worthy Resolution: Making Every Detail Count
So, why all the fuss about resolution? It’s simple: clarity builds trust. When a customer can zoom in and see the texture of your fabric, the precision of your craftsmanship, or the clarity of your print, they feel more confident about their purchase. This can lead to more sales and, believe it or not, fewer returns because people know exactly what they’re getting. It’s all about giving them the best possible view of your item before they click ‘buy’.
High-resolution images are your best friend when it comes to online sales. They allow customers to inspect your product closely, which can significantly boost their confidence and reduce hesitation. Think of it as giving your product a virtual handshake.
Pixel Perfection: Understanding File Formats and Sizes
Beyond just the dimensions, the file format and overall size of your image play a role. Amazon accepts a few different formats, but they have their favorites. JPEG (.jpg) is generally preferred because it offers a good balance between quality and file size, which helps with page load times. You can also use TIFF (.tif) or PNG (.png). Just remember, no animated GIFs allowed – Amazon wants static, clear images. While you want high resolution, you also don’t want files so massive they slow down the browsing experience. It’s a bit of a balancing act, but sticking to the recommended pixel dimensions and using JPEG usually keeps things in the right ballpark. For more on how to make your listings stand out, check out selling best-selling products.
- Accepted Formats: JPEG (.jpg), TIFF (.tif), PNG (.png)
- Preferred Format: JPEG (.jpg)
- Not Allowed: Animated GIFs
- Resolution: 72 dpi or higher is a good baseline.
The Technical Backbone of Stunning Amazon Product Photos
Alright, let’s talk shop. Before we get to the pretty stuff, we need to make sure your photos are technically sound. Amazon has rules, and breaking them is like showing up to a black-tie event in flip-flops – it just doesn’t fly. Getting these basics right means your images won’t get rejected and will actually look good on screens, big or small.
Beyond the White Background: Essential Technical Elements
While the main image must have a pure white background, that’s just the start. Think of it as the foundation of your visual house. You need images that are sharp, clear, and show the product without any fuss. This means no extra text, no logos, and no watermarks cluttering up your main shot. Amazon wants to see the product, plain and simple. Tightly cropping the image so the product fills most of the frame is also key. It helps customers see what they’re actually buying, especially on smaller mobile screens. It’s all about clarity and focus.
RGB vs. CMYK: Why Color Matters for Amazon
This is a bit technical, but super important. Amazon uses the RGB color model. That’s Red, Green, and Blue – the colors that screens use to display images. You absolutely cannot use CMYK (Cyan, Magenta, Yellow, Key/Black), which is what printers use. If you send them CMYK files, they’ll likely get rejected, or worse, the colors will look all wrong when displayed online. Always make sure your photos are saved in the RGB color space. It’s the difference between a vibrant, true-to-life image and a dull, muddy mess.
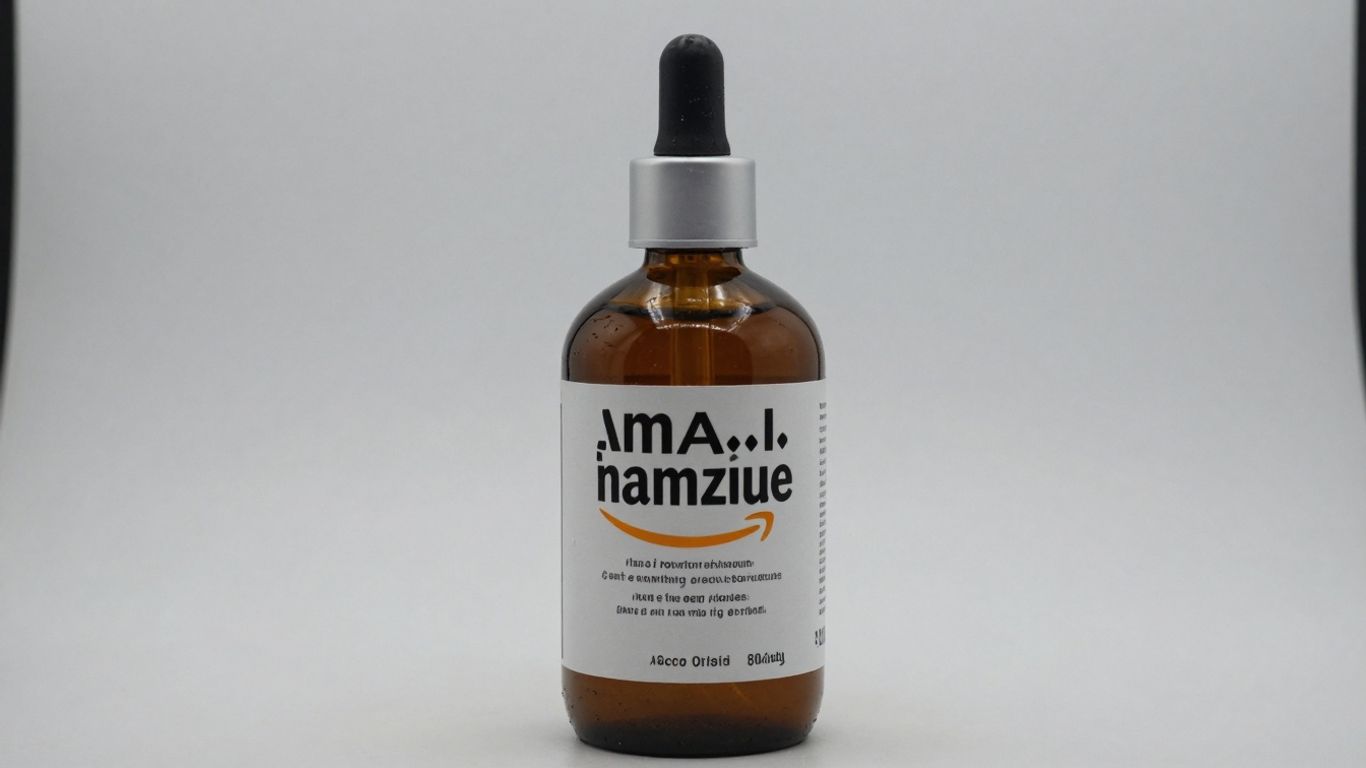
No Text, No Logos, No Problem: Main Image Etiquette
Let’s get this straight: your main product image is the VIP. It’s the first thing people see in search results, and it has a strict dress code. No extra text, no logos, no watermarks, and definitely no "sale" banners. The product itself needs to be the star, front and center, on a pure white background. Think of it as the product’s official portrait. Other images on the detail page can get a bit more creative, but the main one? Keep it clean, keep it simple, and keep it compliant. This helps optimize your Amazon product detail pages and makes sure customers know exactly what they’re clicking on.
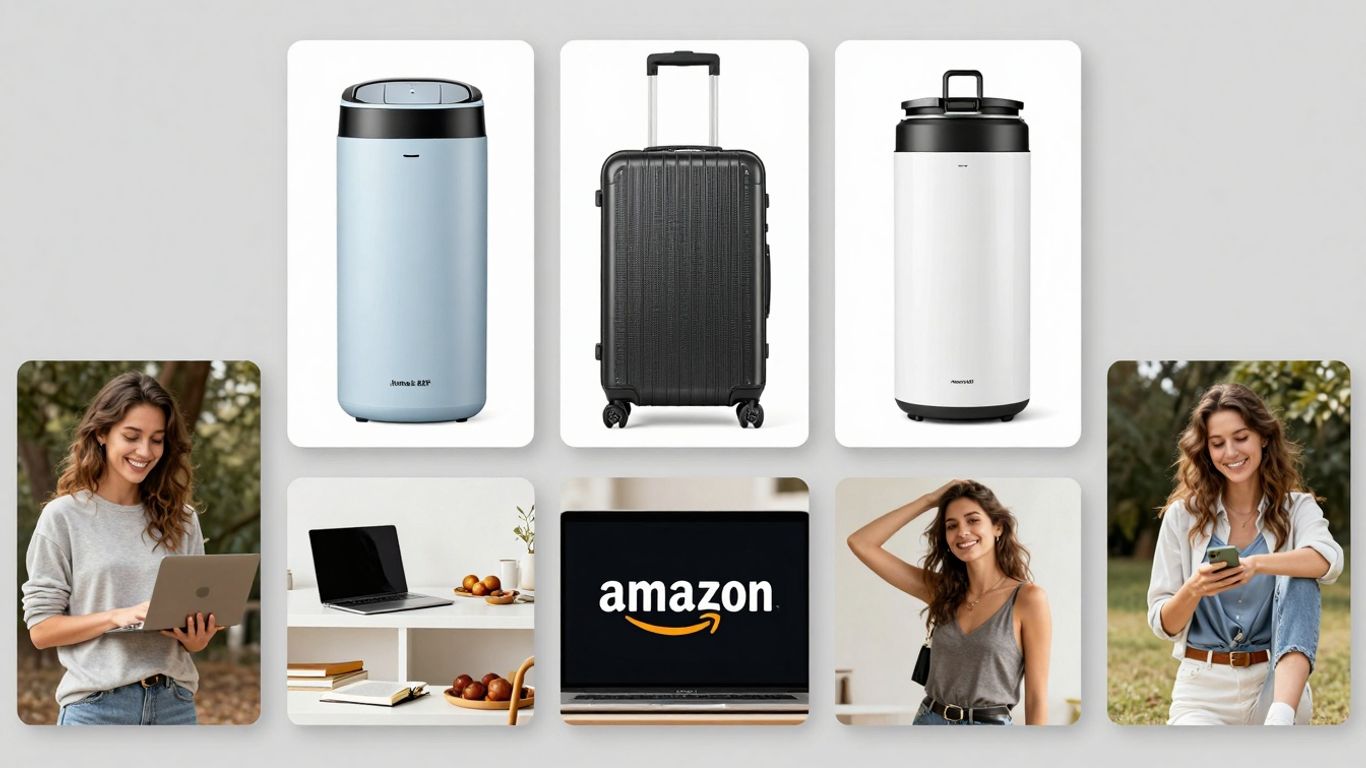
Beyond the Main Image: Crafting a Compelling Visual Narrative
So, your main image is looking sharp, meeting all those Amazon requirements with its crisp white background and perfect product-to-frame ratio. Great! But that’s just the opening act. Now, we need to tell the whole story, and that’s where your secondary images come in. Think of them as your product’s supporting cast, each playing a vital role in convincing shoppers to hit that ‘Add to Cart’ button.
Offer Level Images: Your First Impression in Search Results
These are the images that pop up when someone’s scrolling through search results. They’re tiny, but mighty. While the main image is king here, sometimes you can use a secondary image that shows the product in a slightly different context, perhaps hinting at its use, without breaking Amazon’s rules for the main shot. It’s a subtle art, making sure these small thumbnails still communicate value and draw clicks.
Detail Page Images: Telling the Full Product Story
Once a customer clicks through to your product page, they’re looking for more. This is your chance to really shine. You’ve got space for multiple images, and you should use them wisely. Don’t just show the product; show what it does. Think about the problems it solves or the joy it brings. A good set of images answers questions before they’re even asked.
- Highlight key features: Use close-ups to show off unique textures, materials, or special design elements. If your product has a cool new gadget, zoom in on it.
- Show the product in action: Lifestyle shots are gold here. Let customers see your product being used in a real-world setting. This helps them imagine themselves using it.
- Include comparison charts or infographics: If your product has multiple variations or competes with others, a simple chart can quickly show its advantages. This is a great way to optimize Amazon listings and demonstrate value.
The Power of Multiple Angles: Showing Off Every Facet
Nobody buys a car without looking at it from all sides, right? Your product is no different. Customers want to see the front, the back, the sides, and any important details. Showing multiple angles builds confidence and reduces the chance of returns because the customer knows exactly what they’re getting. It’s like giving them a 360-degree tour right on their screen. Don’t be shy; show off every angle that makes your product great.
Customers are visual creatures. They want to see it, touch it (virtually, anyway), and understand it before they commit. Your images are the bridge between their curiosity and their purchase.
Creative Flair Meets Amazon’s Strict Guidelines

Okay, so we’ve covered the nitty-gritty technical stuff. Now, let’s talk about making your product photos actually look good, you know, the kind that makes people stop scrolling and think, "Ooh, I need that!" Amazon has rules, sure, but that doesn’t mean your pictures have to be boring. It’s all about finding that sweet spot between following the guidelines and showing off your product’s personality.
Lifestyle Shots: Bringing Your Product to Life
This is where you show your product doing its thing. Think about a cozy blanket not just lying there, but draped over a sofa with a good book and a mug of tea nearby. Or maybe a kitchen gadget being used to whip up a delicious meal. Lifestyle shots help customers imagine themselves using and enjoying your product, which is a huge selling point. It makes the item feel more real and relatable. It’s like giving potential buyers a little peek into their own future happy moments with your product.
The Human Element: Incorporating Models and People
Sometimes, the best way to show off a product is to show it with people. If you’re selling activewear, seeing someone actually running or doing yoga in it makes a big difference. For skincare, showing someone with glowing skin (after using the product, of course!) can be very persuasive. Just remember Amazon’s rules: keep it professional and focused on the product. No weird poses or distracting backgrounds. The people should complement the product, not steal the show. It’s about showing the product in a real-world context, and people are a big part of that context for many items.
Props and Backgrounds: Enhancing, Not Distracting
Props and backgrounds can add a lot of visual interest, but you have to be careful. A few well-chosen items can tell a story or highlight a feature. For example, if you sell artisanal coffee beans, a rustic wooden scoop or a vintage coffee grinder in the background can add to the vibe. However, Amazon wants the product to be the star. So, keep props minimal and relevant. They should support the product’s story, not compete with it. Think of them as supporting actors, not the main characters. A cluttered background or too many props can just confuse shoppers and make them miss the important details of what you’re actually selling. It’s a delicate balance, but when you get it right, it makes your listing pop.
Remember, while Amazon has strict rules about the main image, your other images have more room for creativity. Use this space to build a visual narrative that connects with your audience and clearly communicates the value of your product. It’s your chance to go beyond the basics and make a lasting impression.
The Art and Science of Editing Your Amazon Product Photos
So, you’ve snapped your shots. They look… okay. Maybe a bit dark, maybe the colors are a little off. This is where the magic, or at least the digital wizardry, happens. Editing your Amazon product photos isn’t about making them look like they belong in a fantasy novel; it’s about making them look real, just better. Think of it as giving your product a little spa day before it meets the world.
Subtle Enhancements: Tools for Polishing Your Images
Forget heavy filters that make your product look like it’s auditioning for a vintage movie. We’re talking about gentle nudges. Most editing software, whether it’s the fancy paid kind like Adobe Lightroom or a free option like GIMP, can do wonders. You’ll want to focus on making small tweaks that bring out the best in your photo without changing what the product actually looks like. It’s like adding a touch of makeup, not a full face transplant.
Color Correction: Ensuring True-to-Life Hues
This is a big one. Lighting can play tricks on your camera, making that vibrant red look a bit muddy or that crisp white look dingy. Your goal here is to get the colors as close as possible to how they look in real life. If your product is a bright, cheerful yellow, it needs to look like a bright, cheerful yellow on Amazon. Customers get pretty annoyed when what arrives doesn’t match the picture, so getting this right saves you headaches (and returns) down the line.
Exposure and Contrast: Finding the Perfect Balance
Ever taken a photo that’s way too dark? Or maybe it’s so bright it looks washed out? That’s where exposure and contrast come in. Exposure is basically how light or dark the image is overall. Contrast is the difference between the light and dark areas. You want a nice balance – not too dark, not too bright, and with enough contrast to make the product pop without looking harsh. It’s about making sure all the details are visible and the image has a bit of depth.
The key to editing is restraint. Your photos need to be accurate representations of your product. Minor adjustments to brightness, contrast, and color are fine, but anything that significantly alters the product’s appearance is a no-go. Honesty is the best policy, especially when it comes to online sales.
What Not to Do: Avoiding Common Amazon Photo Pitfalls
Alright, let’s talk about the stuff that can really mess up your Amazon product listings. You’ve put in the work to get your product looking good, but one tiny photo mistake can send customers running for the hills, or worse, get your listing flagged. Nobody wants that.
The Blurry Blunder: Why High Resolution is Key
Seriously, nobody wants to squint at a fuzzy picture. If your main product image looks like it was taken with a potato, potential buyers are going to assume the product itself is low quality. Amazon requires images to be at least 1000 pixels on the longest side, and honestly, you should aim even higher. This isn’t just about looking pretty; it’s about letting customers zoom in and see the details. If they can’t see the stitching on that shirt or the texture of that gadget, they’re not going to feel confident hitting ‘buy’.
- Pixelated Product: Images that look blocky or unclear. This often happens when you try to enlarge a small photo too much.
- Low Resolution: Photos that lack sharpness and detail, making the product appear amateurish.
- Zoom-Fail: Customers can’t zoom in to inspect features because the image quality is too poor.
Misleading Imagery: Honesty is the Best Policy
This one’s a biggie. Your photos need to show the product exactly as it is. Don’t use pictures that make your item look bigger, better, or different than reality. That’s a fast track to returns and bad reviews. Think about it: if a customer orders a ‘king-size’ pillow and gets something that looks more like a throw pillow, they’re not going to be happy campers.
Customers rely on your images to make purchasing decisions. If those images aren’t truthful, you’re setting yourself up for disappointment – theirs and yours.
Over-Editing Antics: Keep It Real, Folks
We all want our products to look their best, but there’s a line between polishing and distorting. Heavy filters, extreme color saturation, or adding elements that aren’t actually part of the product are big no-nos. Amazon wants to see the product, not your Photoshop skills. Keep edits subtle and focused on accuracy. Think minor brightness adjustments, not turning your beige sweater into a neon green one.
Strategic Sequencing: Guiding the Customer’s Eye
So, you’ve got your main image looking sharp and all your secondary shots ready to go. But wait, there’s more! Just slapping them onto your product page isn’t quite the master plan. Think of your images like a story – you wouldn’t start with the ending, right? The order in which customers see your photos actually matters. It’s about leading them through a visual journey that builds interest and trust, ultimately nudging them towards that ‘Add to Cart’ button.
The Importance of Image Order on Your Product Page
Your product page is like a digital storefront, and the images are your displays. The first few images a shopper sees are super important. They set the tone and can make or break whether someone sticks around to learn more or bounces off to a competitor. Getting the sequence right means you’re controlling the narrative, highlighting what’s most important first and then filling in the details.
Best Practices for Arranging Your Visuals
How do you actually arrange these digital masterpieces? It’s not rocket science, but it does take a little thought. Start strong, then build.
- Lead with the Hero: Your main image, the one that meets all those strict Amazon requirements, should always come first. It’s the hook.
- Show, Don’t Just Tell: Immediately follow up with images that showcase the product’s key features or benefits. If it’s a gadget, show it in action. If it’s clothing, show a close-up of the fabric or a detail shot.
- Context is King: Next, bring in lifestyle shots. Show your product being used in a real-world setting. This helps customers imagine themselves using it.
- Address the Details: Use close-ups to highlight quality, materials, or unique design elements. Think textures, stitching, or intricate parts.
- Comparison is Caring (and Selling): If applicable, include comparison charts or infographics that clearly show how your product stacks up or explains its benefits visually.
- Show All Sides: Don’t forget to include shots from different angles – front, back, side, top, and bottom. This is especially important for items like bags or electronics.
The goal is to anticipate customer questions and answer them visually before they even have to ask. A well-ordered image gallery builds confidence and reduces the perceived risk of buying online.
From Search to Sale: Optimizing the Customer Journey
Think about the path a customer takes. They see your thumbnail in search results (that’s your main image doing its job). They click through. Now, what? Your secondary images need to pick up the baton and run with it. By strategically sequencing your visuals, you’re not just showing off a product; you’re guiding a potential buyer from initial curiosity to confident purchase. It’s about making the decision-making process as smooth and informative as possible, using visuals to do all the heavy lifting.
Guiding your customers’ eyes through your product pages is key to making sales. Think of it like a treasure map, showing them exactly where to look for the best deals and information. We help you draw that map so shoppers find what they need, fast. Want to learn how to make your Amazon listings irresistible? Visit our website today!
Wrapping It Up: Your Photos, Your Sales
So, we’ve gone through all the nitty-gritty of making your Amazon photos look good and follow the rules. It might seem like a lot, with all the size specs, white backgrounds, and making sure your product is the star. But honestly, it’s like getting your car ready for a road trip – you wouldn’t skip the oil change, right? Good pictures are the same for your online store. They’re what get people to stop scrolling and actually look at what you’re selling. Get these visuals right, and you’ll see fewer returns and more happy customers. Plus, who doesn’t want their products to look amazing? Now go forth and make those listings shine!
Frequently Asked Questions
What are the basic size rules for Amazon product photos?
Amazon wants your main picture to be super clear. It needs to be at least 1,600 pixels on the longest side so shoppers can zoom in and see all the cool details. Also, make sure your product takes up at least 85% of the picture space, with a plain white background.
Can I put text or logos on my main product image?
Nope, Amazon says no text, no logos, and no watermarks on your main picture. The main photo should only show the actual product. You can use these things on other pictures, but not the one that shows up first in search results.
What’s the difference between main images and other product images?
The main image is the one shoppers see in search results. It has to be super clean with a white background. The other images, called detail page images, can be more creative. You can use them to show the product in use, highlight features, or show different angles.
Why is a white background so important for the main image?
A pure white background makes your product pop and look professional. It helps shoppers focus on what you’re selling without any distractions. Amazon requires this so all products look consistent and clean in search results.
How many pictures can I add to my product listing?
You can add up to nine pictures for each product! It’s a good idea to use as many as you can to show your product from every angle, explain its features, and show it in real-life situations. This helps customers feel more confident buying.
What file types does Amazon accept for product photos?
Amazon is pretty flexible here. You can use JPG, TIFF, PNG, or GIF files. However, JPG is usually the best choice because it balances quality and file size well. Just remember, no animated GIFs allowed!

